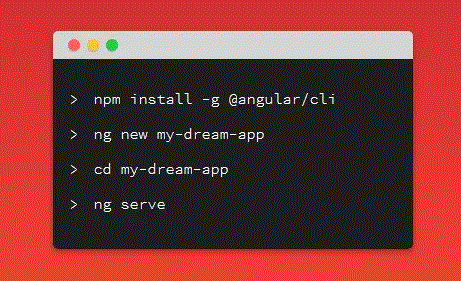
In this tutorial, we’ll install the latest Angular CLI version and generate a new Angular 9 project with routing.
Let’s get started.
Step 1 — Setting Up Angular CLI v9
In our first step, we’ll proceed to install the latest Angular CLI 9 version.
Note: You can also use Angular 8 with this tutorial.

Open a new command-line interface and run the following command:
$ npm install -g @angular/cli@next
This will install angular/cli v9.0.0-rc.2 as the time of writing this tutorial.
In the next step, we’ll proceed to create a new example project from the command-line.
Step 2 — Creating a New Angular 9 Project
In our second step, we’ll use Angular CLI to create our example project. Go back to your terminal and run the following commands:
$ cd ~
$ ng new angular-example-with-routing
You’ll get prompted for a couple of things — If Would you like to add Angular routing? Say y and Which stylesheet format would you like to use? Pick CSS.
This will set up routing in our project and set CSS as the stylesheets format for components.
Next, go to the root folder of your project and run the local development server using the following commands:
$ cd angular-example-with-routing
$ ng serve
A live-reload server will be running from the http://localhost:4200/ address:
