Introduction
Thanks for the good responses to my previous article. Though the method suggested in Version 1 of this article is useful for creating databases during installation, it proves tedious if there is a large number of tables with many columns, complex stored procedures, triggers, relationships, and data too. Here, I am going to explain to you a very simple method to achieve this. Believe me, you require less than a line of code to achieve this.
Background
My client used to test the application with test data. Previously, he had to create a database and enter data every time I delivered him a module, even when there was only a small correction. So I developed this solution which installs a database with data in it.
Here too, we are going to use SQL-DMO, but we are not going to create any database, tables, or stored procedures. Rather, we are going to just attach the database files to the target server, but programmatically. So our task and time for writing the code for creating a database and its objects will be saved.
As all of us know, whenever we create a database on SQL Server, two files are created on the server viz., Data File (DBName_Data.mdf) and Log File (DBName_Log.ldf). If we want to move these files on to another server, just copying these files to the other computer will not work. To make this work, we have to attach these files to the server. (In your SQL Server Enterprise Manager, select Server, select Databases, right click on it, select All Tasks, and then select Attach Database…).
Similarly, to copy these files, either you have to stop the server, or detach the particular database from the server. (In your SQL Server Enterprise Manager, select Server, select Databases, select the particular database and right click on it, select All Tasks, and then select Detach Database…).
Using the Demo Application
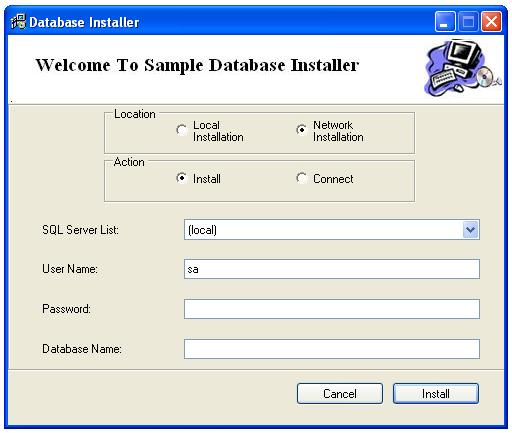
The demo application is provided with the required tool tips which will help you to use the application.
Using the Source Code
Much of the code is same as in Version 1, so I will not be repeating it here. You can just ignore the code for creating the database, tables and stored procedures.
Attaching the Data Files to the Server
Use the code given below in the Install button's Click event:
srv.AttachDB(txtDBName.Text.Trim(), "[" +
Application.StartupPath+@"\Organization_Data.mdf]");
How to Use This Application in Setup Projects
- Don’t forget to copy your data files in your package. Copy them into your application folder. Follow the steps given below.
- Select the Setup project in the Solution Explorer. Right click on it.
- Select View--File System Editor.
- In File System Editor, select the application folder and right click on it.
- Then, select Add--File.
- Now, select your data files, and click OK.
- Rest of the steps to add your application to the setup project, using Custom Actions, are the same as in (Version 1).
Other Considerations
It is possible that the above code might give an error saying "QueryInterface for interface SQLDMO.NameList failed". If such exceptions occur, it means the server should be updated with the latest service pack (above SP 2).
